You tap one AirPod, nothing happens. You pull up the Bluetooth menu and they seem connected — but no sound comes through. Sound familiar? When AirPods not working is the reality you’re dealing with, it’s rarely a hardware failure. In most cases, the fix takes under five minutes and requires no tools, no Apple Store appointment, and no panic.
Why AirPods lose connection or stop responding
The frustrating part about AirPods audio issues is that the problem is almost never where you expect it to be. Most people assume their earbuds are broken when in reality it’s a firmware glitch, a Bluetooth stack conflict, or a sensor that didn’t register correctly. Apple’s wireless earbuds rely on a combination of proximity sensors, automatic ear detection, and persistent Bluetooth pairing — any one of these can silently fail without obvious warning.
Before running through fixes, it helps to know which category your problem falls into. Connection drops and no sound are different from one AirPod not working, which is different again from AirPods not charging or not showing up on your device at all.
The most common issues and what actually causes them
| Symptom | Most likely cause |
|---|---|
| No sound despite connection showing | Audio output routing to wrong device |
| Only one AirPod playing audio | Low battery on one bud or ear detection issue |
| AirPods not showing up in Bluetooth | Case battery dead or pairing cache corrupted |
| Microphone not working on calls | Incorrect microphone setting in Bluetooth options |
| Audio cuts out intermittently | Wireless interference or outdated firmware |
Understanding the root cause saves you from going in circles. If only one side works, don’t factory reset immediately — check the battery levels first through the charging case or the Batteries widget on your iPhone. A dead cell on one AirPod mimics a hardware fault almost perfectly.
Step-by-step fixes that actually work
Start with the basics, because they genuinely solve the majority of cases. This isn’t about dumbing things down — it’s about not skipping a step that might have been the only one you needed.
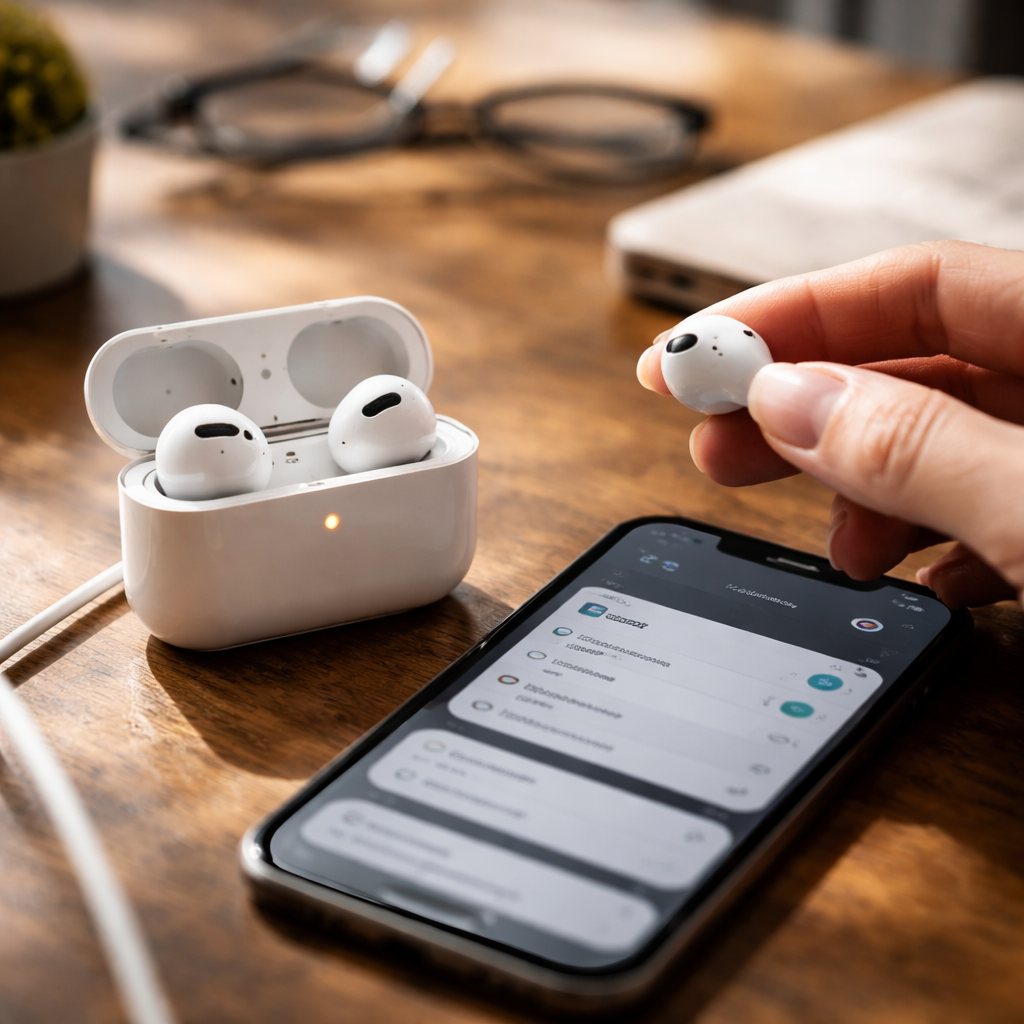
- Place both AirPods back in the charging case, close the lid, wait 30 seconds, then reopen it and reconnect.
- On your iPhone or iPad, go to Settings → Bluetooth, find your AirPods, tap the info icon, and select Forget This Device. Then re-pair from scratch.
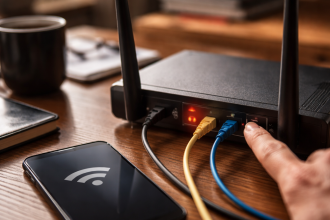
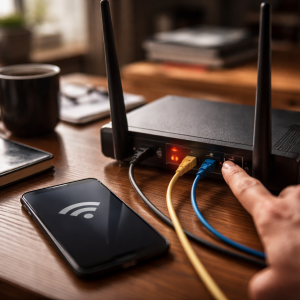
- Toggle Bluetooth off and back on — not just from Control Center, but from the Settings app itself, which performs a more complete reset of the Bluetooth stack.
- Check that your audio output is actually set to AirPods: swipe into Control Center, long-press the audio card, and confirm the output device.
- Inspect the charging contacts inside the case with a dry cotton swab. Even a small amount of debris can interrupt the charge cycle and lead to one bud losing power faster.
If none of the above resolves it, the next move is a factory reset of the AirPods themselves. This clears all stored pairing data and gives you a clean slate.
How to factory reset AirPods
- Put both AirPods in the charging case and leave the lid open.
- Press and hold the setup button on the back of the case for about 15 seconds, until the status light flashes amber, then white.
- Bring the open case close to your iPhone — the pairing animation should appear automatically.
- Follow the on-screen prompts to complete setup.
This process works across all AirPods generations, including AirPods Pro and AirPods Max (which has a slightly different button placement but the same core logic).
When the microphone is the problem
Calls going through but the other person can’t hear you? The microphone setting is worth checking before anything else. Apple’s AirPods default to automatic microphone switching, which means the device decides which bud handles input. Sometimes this selection breaks, especially if one AirPod has lower battery.
Go to Settings → Bluetooth → your AirPods → Microphone and switch it from Automatically Switch AirPods to either Always Left or Always Right. This forces a fixed input source and often resolves the issue immediately.
A quick tip worth remembering: if your AirPods mic works fine in voice memos but not during calls, the issue is almost always app-level permissions or a carrier-related audio routing bug — not the hardware itself.
Dealing with firmware and software conflicts
AirPods receive firmware updates silently in the background — you can’t trigger them manually in the traditional sense. To encourage an update, place the AirPods in their case, connect the case to power, and keep your iPhone nearby with an active internet connection. Apple’s servers push updates during these idle windows.
To check your current firmware version, go to Settings → Bluetooth → tap the info icon next to your AirPods → scroll down to About. You can then compare the version number against the latest available on Apple’s support documentation.
On the iOS side, make sure your device is running a current software version. Some AirPods connectivity bugs have been tied specifically to mid-cycle iOS releases and were patched in subsequent updates. Keeping both sides of the equation up to date is the simplest form of preventive maintenance.
AirPods not charging — a separate but related issue
If your AirPods show 0% despite sitting in the case, the problem might be the case itself rather than the earbuds. Check the case battery independently — it needs its own charge to power the buds. A fully depleted case that hasn’t been charged in a while can take several minutes before it registers any incoming charge and shows a light indicator.
Try a different Lightning or USB-C cable and a different power adapter. Wall adapters with higher wattage can sometimes fail to initiate charging on low-power accessories like the AirPods case — paradoxically, a slower charger may work better.
When to contact Apple Support
Most AirPod problems are solvable through the steps above. But there are a handful of situations where professional assessment genuinely makes sense:
- Physical damage to the mesh or speaker grille that you can see or feel
- One AirPod charges to 100% but loses battery within minutes of use
- The case status light doesn’t respond at all, even when plugged in
- Audio has a persistent crackling or distortion at all volume levels
Apple’s warranty covers manufacturing defects, and AppleCare+ extends that coverage while also including accidental damage options. Before booking a Genius Bar appointment, use the Get Support tool on Apple’s website — it lets you run diagnostics remotely and often narrows down whether the issue is software or hardware before you leave the house.
Small habits that prevent most AirPods problems
Prevention sounds boring until you’re mid-commute with dead earbuds and nothing else to listen to. A few consistent habits keep AirPods running reliably for longer:
- Store AirPods in the case when not in use — this protects the sensors and maintains battery health through managed charging cycles.
- Clean the speaker mesh gently every few weeks using a dry, lint-free cloth. Earwax and dust are the most common causes of muffled audio that people mistake for hardware failure.
- Avoid leaving the case fully discharged for extended periods. Lithium batteries held at 0% for weeks degrade faster.
- When pairing to a new device, unpair from the previous device first to avoid Bluetooth conflicts.
The majority of issues that send people searching for answers are solved by cleaning, recharging, or re-pairing. That’s not a limitation of the technology — it’s just the nature of wireless audio that sits in your ears all day. Treat the basics with consistency and your AirPods will follow suit.