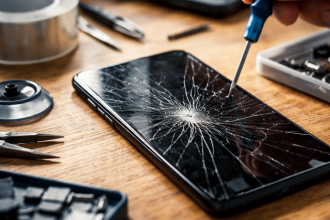
Joy-Con drift has frustrated countless Nintendo Switch owners — your character starts moving on its own, menus scroll without input, and suddenly a game that was fun becomes genuinely unplayable. If you’re trying to figure out how to fix drift in Joy-Con, the good news is that there are several practical methods you can try before spending money on a replacement or repair service.
Why Joy-Con drift happens in the first place
The root cause almost always comes down to the analog stick mechanism itself. Over time, the small potentiometers inside the thumbstick wear down from regular use, causing the controller to register phantom movement even when you’re not touching it. Dust and debris accumulating beneath the stick cap can also interfere with the sensor readings, which is why drift sometimes worsens in dusty environments.
Understanding this helps you pick the right fix — because some solutions address debris, while others deal with calibration or hardware wear.
Start with the software side: calibration and updates
Before touching any hardware, it’s worth ruling out software as the culprit. Nintendo’s Switch system menu includes a built-in stick calibration tool that can help correct minor drift caused by miscalibration rather than physical wear.
Here’s how to access it:
- Go to System Settings on your Nintendo Switch
- Scroll down to Controllers and Sensors
- Select Calibrate Control Sticks
- Follow the on-screen instructions and test the stick in multiple directions
Also make sure your controller firmware is up to date. Nintendo has released updates specifically targeting stick sensitivity and dead zone adjustments, which can reduce perceived drift without any physical intervention.
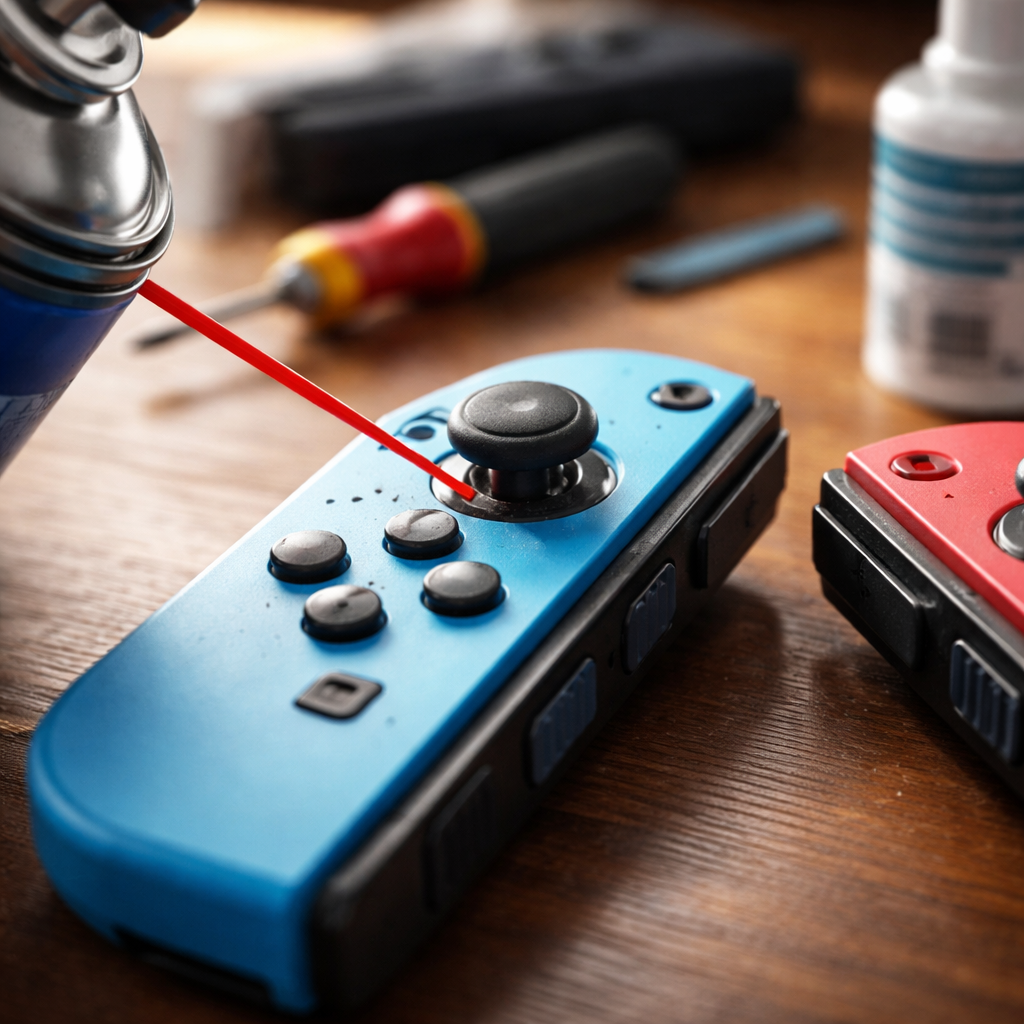
The compressed air method: simple but effective for debris-related drift
If calibration doesn’t solve the problem, compressed air is often the next logical step. Tiny particles of dust or lint can settle beneath the rubber cap of the thumbstick and push the sensor slightly off-center, which the controller interprets as intentional input.
Hold the stick to one side to expose the gap at the base, then use short bursts of compressed air around the perimeter. Don’t tilt the can — keep it upright to avoid releasing moisture onto the contacts.
Many users report that drift disappears or significantly reduces after this step, especially if the controller hasn’t been cleaned in a while. It’s a low-risk method that takes under a minute.
Contact cleaner: the most widely recommended DIY repair
This is probably the most talked-about fix in repair communities, and for good reason — it works surprisingly well. Electrical contact cleaner (not WD-40 or general lubricants) can dissolve the residue that builds up on the potentiometer contacts inside the stick assembly.
| What you need | What to avoid |
|---|---|
| Isopropyl-based contact cleaner spray | WD-40 or oil-based sprays |
| A thin straw nozzle for precise application | Soaking the area with excess liquid |
| A dry environment | Applying power immediately after spraying |
To apply it, tilt the stick to one side to expose the base gap and insert the nozzle carefully. Use a very short burst — a little goes a long way. Then move the stick around in full circles for about 30 seconds to distribute the cleaner across the contacts. Let it dry for several minutes before testing.
This method doesn’t permanently fix the underlying wear, but it can extend the life of the stick considerably and restore accurate input for weeks or even months.
Adjusting the dead zone through system settings
Nintendo introduced a dead zone adjustment feature in later system updates, allowing users to manually increase the range of stick movement that the console ignores. This is essentially a software workaround — it won’t fix the hardware, but it can make the drift invisible in practice.
- Navigate to System Settings → Controllers and Sensors
- Select Change Button Mapping (or stick calibration depending on firmware version)
- Look for the dead zone slider and increase it slightly
- Test in a game and adjust further if needed
Keep in mind that increasing the dead zone too much can make precise movements feel less responsive, so find a balance that eliminates drift without affecting normal gameplay.
Replacing the analog stick module yourself
If nothing else works, replacing the thumbstick module is the most permanent solution. Replacement parts are widely available online and designed to be compatible with standard Joy-Con models. The repair itself requires a small tri-wing screwdriver, a JIS screwdriver, a plastic prying tool, and patience.
The general process involves opening the Joy-Con shell, disconnecting the battery, carefully removing the old stick module, and snapping the new one into place. It typically takes 20–40 minutes for someone doing it for the first time.
If you’ve never opened a controller before, watching a detailed video walkthrough specific to your Joy-Con color and generation is strongly recommended before attempting this repair.
One important note: opening the Joy-Con yourself will void any remaining warranty. If your controllers are still under warranty or you’re in a region covered by Nintendo’s drift repair program, contacting Nintendo support first is worth doing — they’ve repaired or replaced drifting Joy-Cons at no cost in several markets.
When to send it in instead of fixing it yourself
DIY repair makes sense for controllers that are out of warranty and where the drift is clearly hardware-related. But there are situations where professional repair or replacement is the smarter choice:
- The Joy-Con has additional damage beyond drift (cracked shell, broken buttons)
- You’re uncomfortable working with small electronics
- The controller is still under Nintendo’s warranty or repair program
- You’ve already replaced the module and drift returned quickly, suggesting a deeper issue
Third-party repair shops that specialize in game controllers are also a reasonable middle ground — they often charge less than buying a new Joy-Con and can complete the repair quickly.
Keeping your Joy-Cons in better shape going forward
Drift tends to develop faster when controllers are stored in dusty areas, used with excessive pressure on the sticks, or exposed to temperature extremes. A few habits can meaningfully slow down wear:
- Store your Switch in a case when not in use
- Avoid pressing down hard on the thumbstick during normal play
- Clean around the stick base with compressed air every few months
- Don’t leave Joy-Cons attached to the console in a dusty environment for extended periods
None of these guarantee drift-free performance indefinitely — the design of the mechanism means wear is inevitable over time. But thoughtful use and occasional cleaning can push that point further into the future and keep your controllers feeling responsive much longer.