That persistent dripping sound coming from your bathroom at 2 a.m. is not just annoying — it can waste thousands of gallons of water per year. Knowing how to fix a leaky faucet is one of those practical home repair skills that pays off almost immediately, both on your water bill and your peace of mind. The good news? Most faucet leaks are fixable without calling a plumber, and the whole process often takes less than an hour.
Why faucets leak in the first place
Before grabbing your wrench, it helps to understand what’s actually going wrong inside the faucet. In most cases, leaks trace back to one of a handful of worn-out components. Rubber washers and O-rings deteriorate over time due to friction and water pressure. Ceramic disc cartridges can crack or collect mineral deposits. Valve seats — the connection point between the faucet and the spout — can corrode, especially in areas with hard water.
The type of leak also gives you a clue about where the problem lies. A drip from the spout usually points to a damaged washer or cartridge, while water pooling around the base of the faucet often means the O-rings have worn out. Identifying the source before you start disassembly saves a lot of back-and-forth trips to the hardware store.
What type of faucet do you have?
Not all faucets are built the same way, and the repair approach depends entirely on the internal mechanism. There are four main types found in most homes:
| Faucet Type | Key Feature | Common Issue |
|---|---|---|
| Ball faucet | Single rotating ball handle | Worn springs and seats |
| Cartridge faucet | Single or double handle with a cartridge | Damaged or clogged cartridge |
| Ceramic disc faucet | Wide single lever, cylinder inside | Cracked ceramic disc or sediment buildup |
| Compression faucet | Two handles that you tighten to close | Worn rubber washer |
Compression faucets are the oldest design and the most straightforward to repair. Ceramic disc faucets are more modern and generally more durable, but they require a slightly different approach when something goes wrong.
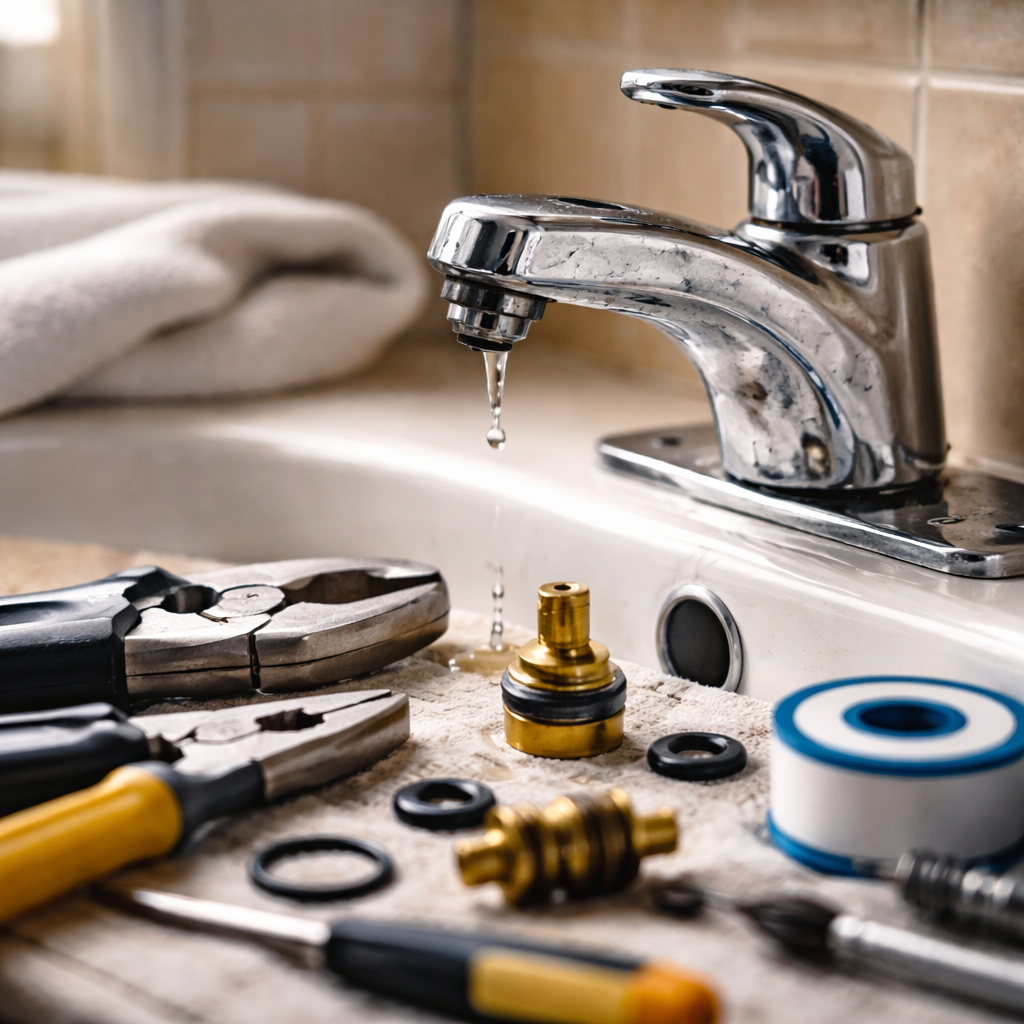
Tools and materials you’ll need
One of the biggest mistakes people make is starting the job without having everything on hand. Running to the store mid-repair with the water shut off and the faucet in pieces is frustrating. Gather these before you begin:
- Adjustable wrench and basin wrench
- Flathead and Phillips screwdrivers
- Replacement washers, O-rings, or a cartridge (match your faucet brand and model)
- Plumber’s grease (silicone-based)
- Plumber’s tape (Teflon tape)
- A small bucket or towels
- Needle-nose pliers
If you’re not sure which replacement parts to buy, take the old components with you to the hardware store or look up your faucet’s model number online. Most manufacturers provide part diagrams on their websites.
Step-by-step: fixing a compression faucet
Compression faucets are a great starting point if you’ve never done this before. The repair logic is simple and the skills transfer to other faucet types as well.
- Turn off the water supply valves under the sink. Turn the faucet handle on to release any remaining pressure and drain the lines.
- Remove the decorative cap on top of the handle (usually pops off with a flathead screwdriver), then unscrew the handle screw underneath.
- Pull off the handle. You’ll see a packing nut — use your wrench to unscrew it counterclockwise.
- Pull out the stem. At the bottom, you’ll find a rubber washer held in place by a brass screw. This washer is almost always the culprit in a dripping compression faucet.
- Replace the washer with an exact match. Apply a thin layer of plumber’s grease before reinstalling.
- While you’re in there, check the O-ring on the stem. If it looks flattened or cracked, replace it too.
- Reassemble in reverse order, turn the water back on, and test.
A worn washer costs less than a dollar. The same leak, left unattended, can add up to hundreds of dollars on your annual water bill.
Fixing a cartridge faucet: a slightly different process
Cartridge faucets are common in modern kitchens and bathrooms. The internal cartridge regulates both water flow and temperature, and when it wears out, you’ll notice dripping or difficulty controlling the water temperature.
After shutting off the water supply and removing the handle (same process as above), you’ll see the cartridge secured by a retaining clip or nut. Note the orientation of the cartridge before pulling it out — inserting it backwards will reverse your hot and cold. Pull the cartridge straight up, take it to the hardware store if needed to match the replacement, and slide the new one in. Reassemble and test thoroughly before calling it done.
Dealing with ceramic disc faucets
These are often found in higher-end fixtures. Inside the single-lever body sits a cylinder containing two ceramic discs. When sediment builds up between them or one disc cracks, you get a leak.
After removing the handle and unscrewing the cylinder, carefully lift out the ceramic discs. If they’re just dirty, clean them gently with white vinegar and a soft cloth — do not use abrasive materials on ceramic surfaces. If a disc is visibly cracked, it needs to be replaced. Ceramic disc faucet repairs are generally less frequent than other types, but the parts can be more expensive and harder to source for older fixtures.
Tips to prevent future leaks
Once you’ve done the repair, a little ongoing attention goes a long way toward keeping your faucets in good shape. Hard water is a major factor in premature wear — mineral deposits accumulate inside valves and on seating surfaces, accelerating deterioration. Installing a water softener or using a descaling solution periodically can make a noticeable difference.
Avoid overtightening handles when turning off the water. It’s a surprisingly common habit that crushes washers faster and puts stress on cartridges. The water doesn’t need to be cranked shut — firm and snug is enough.
Most faucet components are designed to last many years under normal use. Rough handling and neglected mineral buildup cut that lifespan significantly.
When the DIY route isn’t enough
There are situations where calling a licensed plumber is genuinely the smarter move. If you’ve replaced the cartridge or washer and the faucet is still leaking, the valve seat may be damaged or corroded beyond what a standard washer fix can address. Valve seat grinding requires a specialized tool and some experience to do correctly.
Leaks that appear in the supply lines themselves, behind the wall, or involve corroded shut-off valves that won’t fully close are also best handled professionally. Trying to force a corroded valve can cause it to break entirely, turning a small drip into a much larger problem. Recognizing the boundary between a manageable DIY repair and a job that needs professional tools or expertise is itself a valuable skill.
A leaky faucet fixed is a problem that stops compounding
There’s something genuinely satisfying about silencing a drip that’s been going on for weeks. Beyond the satisfaction, fixing a leaky faucet protects your home from moisture damage, reduces water waste, and gives you a better understanding of how your plumbing actually works. Most repairs cost only a few dollars in parts, and the skills you pick up along the way make every future plumbing task a little less intimidating. Start with the simplest fix, work methodically, and you’ll likely find the job is far more manageable than it first appeared.