Most drivers will face a flat tire at some point — and knowing how to change a tire before it happens makes all the difference between a minor inconvenience and a stressful roadside nightmare. The good news is that the process is straightforward once you understand each step, and having this skill can genuinely save you time, money, and a lot of frustration.
What you need before you even touch the wheel
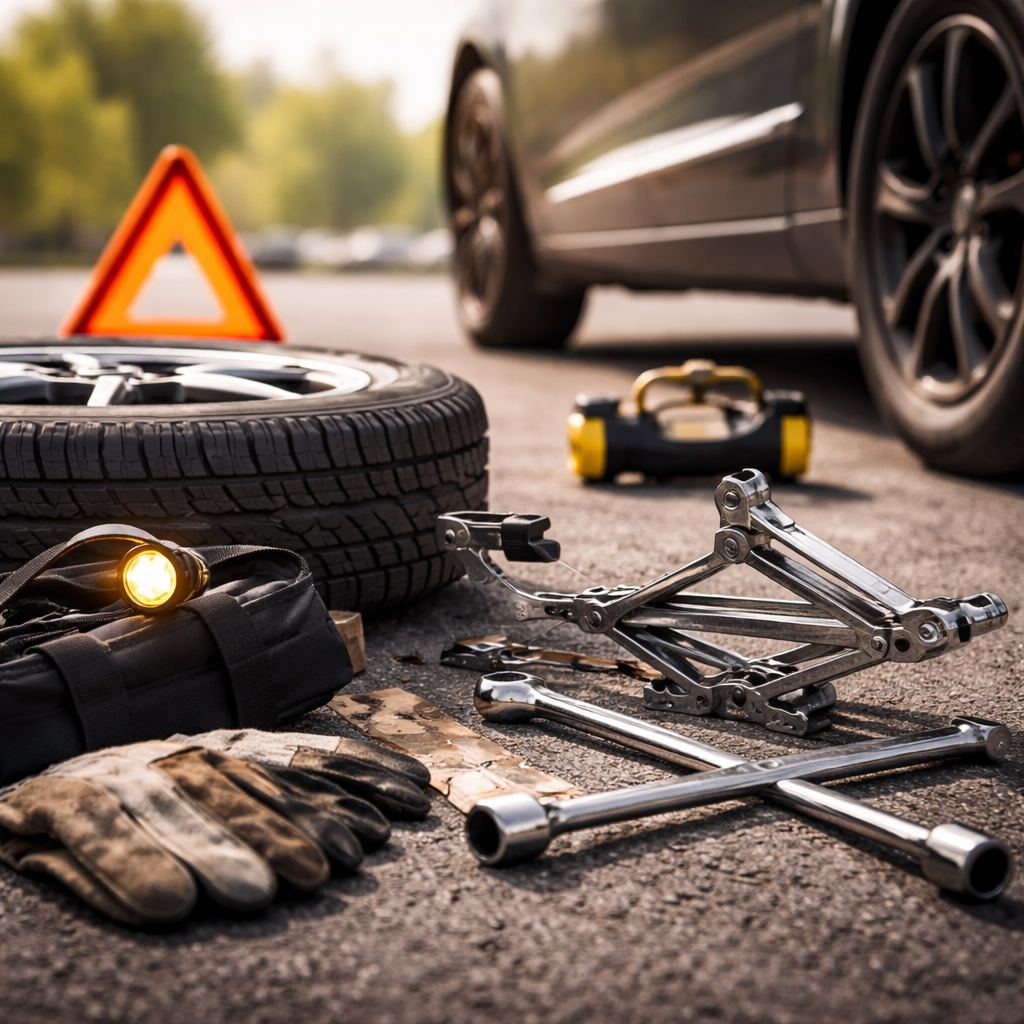
Before getting into the actual procedure, it is worth knowing what tools you need. Many drivers discover too late that their spare tire is flat or that the jack handle is missing. Do yourself a favor and check your trunk right now, not when you are stranded on a highway shoulder.
- Spare tire (inflated and in good condition)
- Car jack (hydraulic or scissor type)
- Lug wrench that fits your wheel nuts
- Vehicle owner’s manual
- Reflective triangles or road flares
- Flashlight with working batteries
- Gloves to protect your hands
A small wooden block or wheel wedge is also useful to prevent the car from rolling. Some drivers keep a portable tire inflator in the trunk as a backup — a smart habit if you do a lot of highway driving.
Choosing the right moment and place to stop
This part is often overlooked in tire-changing guides, but it matters enormously for your safety. When you feel a tire go flat — usually through vibration, pulling to one side, or a flapping sound — resist the urge to brake hard. Instead, reduce speed gradually and scan for a safe spot to pull over.
Driving slowly on a flat tire for a short distance to reach a safe location is far less damaging than stopping in a dangerous spot on a busy road.
Ideal stopping spots include wide parking lots, gas station forecourts, or road shoulders that are flat, firm, and well away from moving traffic. Avoid hills and soft ground, as these make using a jack much more dangerous and difficult.
Step-by-step tire replacement process
Once you are safely parked with the hazard lights on and warning triangles placed behind the vehicle, you can begin. Work calmly and methodically — rushing leads to mistakes.
Start by applying the parking brake firmly. Place your wheel wedge against the tire diagonally opposite the flat one. This simple step prevents unexpected rolling while the car is lifted.
Remove the hubcap or wheel cover if your vehicle has one. Using the lug wrench, loosen each nut by turning counterclockwise — just break their resistance at this stage, do not remove them yet. Loosening the nuts while the tire is still on the ground prevents the wheel from spinning as you apply force.
Consult your owner’s manual to find the correct jack points underneath your vehicle’s frame. Placing the jack in the wrong spot can damage the car’s body or cause the jack to slip, which is genuinely dangerous. Position the jack correctly, then raise the vehicle until the flat tire is roughly 15 centimeters off the ground.
Now remove the lug nuts completely and keep them somewhere safe — a pocket or a small cup works well. Pull the flat tire straight toward you and set it aside flat on the ground. Mount the spare tire by aligning the holes and pushing it onto the bolts. Hand-tighten the lug nuts in a star pattern to ensure even seating, then give them a firm tighten with the wrench, again using the star sequence.
| Step | Action | Common mistake to avoid |
|---|---|---|
| 1 | Loosen lug nuts before jacking | Trying to loosen them while the car is raised |
| 2 | Place jack at manufacturer’s specified point | Guessing the jack position |
| 3 | Tighten nuts in a star pattern | Tightening in a circle, causing uneven pressure |
| 4 | Lower car fully before final tightening | Over-tightening while the tire is still in the air |
Lower the vehicle completely, remove the jack, and then give the lug nuts one final tighten with full force while the tire is on the ground. This is the moment to apply proper torque, not before.
The compact spare — what drivers often misunderstand
If your vehicle came with a compact spare tire, also called a donut spare, there are important limitations to keep in mind. These tires are not designed for regular driving conditions and should only be used to reach a tire repair shop or your destination safely.
A compact spare is typically rated for a maximum speed of 80 km/h and should not be driven on for more than 80 to 100 kilometers without replacement.
Do not use a compact spare on roads with sharp curves at higher speeds, and avoid driving in heavy rain or snow on one, as handling characteristics change noticeably. Once you have reached your destination, get the original tire repaired or replaced as soon as possible.
A few habits that make the whole experience easier
Tire pressure should be checked regularly — including the spare. A spare that has been sitting in the trunk for years without being inspected is often flat or underinflated when you actually need it. Checking it during routine maintenance costs nothing and takes thirty seconds.
It also helps to practice the tire change process at home in your driveway at least once. Doing it for the first time under stress, in the dark, beside a busy road is far from ideal. A dry run gives you confidence and reveals whether all your tools are actually functional and accessible.
Keeping a pair of thin work gloves in the glovebox is another underrated tip. Lug nuts, wheel bolts, and tires are often covered in road grime and brake dust. Gloves keep your hands clean and give you a better grip on tools.
When tire repair beats full replacement
Not every flat means you need a new tire. If the puncture is caused by a nail or screw located in the central tread area and is smaller than 6 millimeters in diameter, a professional tire repair using an internal patch is usually a safe and cost-effective solution. Sidewall damage, however, cannot be safely repaired and always requires full tire replacement.
A tire that has been driven on while flat — even for a short distance — may have sustained structural damage that is not visible from the outside. Always have a tire professional inspect it before deciding whether repair or replacement is the right choice.
Roadside confidence comes from preparation, not luck
A flat tire catches almost everyone off guard the first time, but it rarely needs to be a crisis. With the right tools in the car, a basic understanding of the process, and a calm approach, most drivers can handle a tire change safely and efficiently on their own. The skill takes less than twenty minutes to learn and can save you hours of waiting for roadside assistance in situations where every minute counts.