Most Mac users discover how to screenshot on Mac book by accident — pressing the wrong key combination and suddenly finding a file on their desktop. But there’s much more to Mac’s screenshot system than that one lucky shortcut. Whether you need to capture a full screen, a specific window, or just a small portion of your display, macOS gives you several precise and flexible ways to do it.
The three keyboard shortcuts you actually need
Apple built screenshot functionality directly into the operating system, and it works through a set of native keyboard shortcuts. No third-party apps required. Here’s what each combination does:
- Command + Shift + 3 — captures your entire screen instantly and saves the file to the desktop.
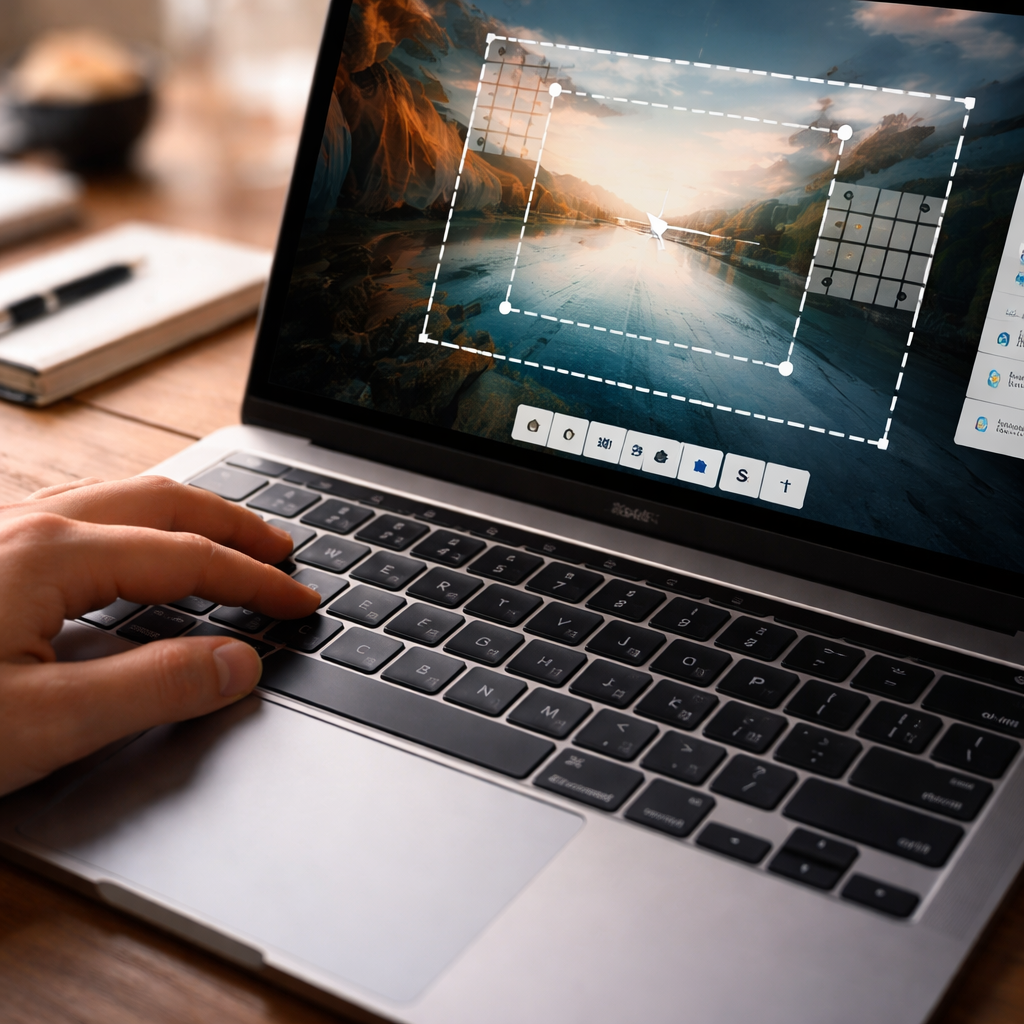
- Command + Shift + 4 — turns your cursor into a crosshair, letting you draw a selection rectangle around any part of the screen.
- Command + Shift + 4, then Space — switches the tool to window capture mode. Hover over any open window and click to capture just that window, complete with a subtle drop shadow.
- Command + Shift + 5 — opens the Screenshot toolbar, introduced in macOS Mojave, which gives you access to all capture modes plus screen recording options in one place.
Each of these shortcuts saves a PNG file to your desktop by default. The filename includes the date and time of capture, which makes it easy to find recent screenshots without renaming them manually.
Capturing to clipboard instead of a file
Here’s something many users miss entirely: adding the Control key to any of the shortcuts above copies the screenshot directly to your clipboard instead of saving it as a file. This is incredibly useful when you want to paste an image straight into a document, email, or messaging app without cluttering your desktop with files you’ll delete in five minutes anyway.
Control + Command + Shift + 4 lets you select a screen area and paste it instantly — no file created, no cleanup needed.
This workflow suits anyone who frequently shares screenshots in Slack, Notion, or Google Docs, where pasting from clipboard is faster than uploading a file.
How the Screenshot toolbar changes things
Pressing Command + Shift + 5 brings up a small floating toolbar at the bottom of your screen. It might look simple, but it contains options that aren’t available through the basic shortcuts alone.
| Option in toolbar | What it does |
|---|---|
| Capture Entire Screen | Same as Command + Shift + 3 |
| Capture Selected Window | Click any visible window to capture it |
| Capture Selected Portion | Draw a custom selection rectangle |
| Record Entire Screen | Starts a screen recording saved as MOV |
| Record Selected Portion | Records only the area you define |
| Options menu | Change save location, set a timer, show/hide cursor |
The Options menu inside the toolbar is where you can change the default save location from the desktop to any folder, including iCloud Drive. You can also add a 5 or 10-second delay before the capture — handy when you need to capture a dropdown menu or tooltip that disappears the moment you touch the keyboard.
Annotating screenshots right after capture
When you take a screenshot, a small thumbnail appears in the bottom-right corner of your screen for a few seconds. Clicking it before it disappears opens the Markup editor — a lightweight annotation tool built into macOS. From there you can:
- Draw arrows and shapes to highlight specific areas
- Add text directly onto the image
- Crop the screenshot to remove unnecessary parts
- Use the signature tool to sign documents visually
- Adjust the image size before sharing
If you miss the thumbnail, don’t worry — the screenshot file is already saved. You can open it in Preview and access the exact same Markup tools from the toolbar there.
Touch Bar screenshots and external displays
If you’re using a MacBook Pro model that had a Touch Bar, there’s a dedicated shortcut to capture it: Command + Shift + 6. This saves an image of only the Touch Bar strip, which is useful for documentation or tutorials. It’s a niche feature, but worth knowing it exists.
When working with an external monitor connected to your MacBook, each shortcut captures only the display where your active window or cursor is located. If you use Command + Shift + 3 with multiple monitors, macOS saves a separate screenshot file for each screen simultaneously.
Changing where screenshots are saved
The desktop default works for casual use, but if you take screenshots regularly for work or content creation, having them scattered across the desktop gets messy fast. You can set a dedicated folder permanently in just a few steps:
- Press Command + Shift + 5 to open the Screenshot toolbar
- Click Options in the toolbar
- Under “Save to,” choose Other Location
- Navigate to any folder on your Mac or in iCloud Drive and select it
From that point on, every screenshot goes directly to that folder. You can always change it again through the same menu.
Quick reference for every situation
Screenshots on Mac don’t require any setup or additional software. The system handles everything natively, and once you know which shortcut fits your situation, the whole process takes less than a second. The full-screen capture is great for quick grabs, the selection tool gives you precision, and the toolbar gives you control over timing and destination. Between these options, there’s a solution for virtually any screenshot task you’ll run into.
The best shortcut is the one that matches your workflow — not necessarily the most advanced one.
Whether you’re documenting a bug, saving a recipe you saw online, or putting together a tutorial for a colleague, macOS gives you everything you need without ever opening the App Store.