Most people who struggle with flat, rubbery, or unevenly cooked results simply skip one or two small but critical steps. Learning how to make pancakes properly isn’t about following a complicated recipe — it’s about understanding why each step matters and what happens when you skip it.
The ingredients that actually make a difference
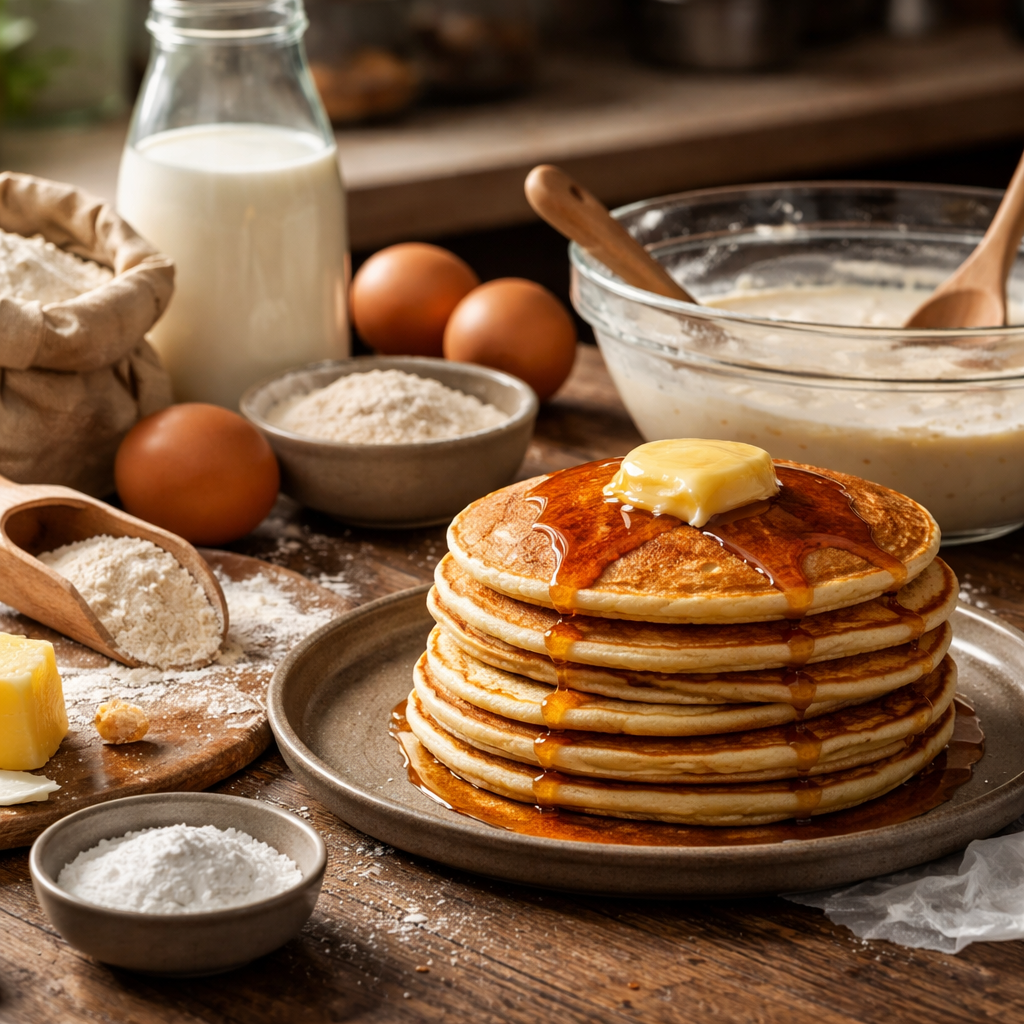
A classic pancake batter calls for flour, eggs, milk, a leavening agent, a pinch of salt, and a little fat — usually melted butter or oil. But the ratio between these ingredients is where things get interesting. Too much flour makes the batter heavy and the pancakes dense. Too much milk and they spread thin and cook unevenly. The sweet spot is a batter that flows off a spoon in a slow, steady ribbon — not watery, not stiff.
One element that often gets overlooked is the leavening agent. Baking powder is the standard choice, and it works by releasing carbon dioxide bubbles when it contacts moisture and heat. Those bubbles are what give pancakes their lift and that slightly airy interior. If your baking powder is old, the bubbles won’t form properly — and no amount of technique will fix that. A quick test: drop a teaspoon into hot water. If it doesn’t fizz immediately, replace it.
The difference between a good pancake and a great one often comes down to the temperature of your ingredients. Cold milk and eggs straight from the fridge can cause the butter to seize and create an uneven batter.
Mixing: less is genuinely more
This is the step where most home cooks go wrong. Overmixing develops the gluten in the flour, which makes pancakes tough and chewy instead of soft and tender. You want to stir the wet and dry ingredients together just until combined — lumps are completely fine and actually expected. The batter should look slightly rough, not smooth like a crepe batter.
Another trick worth knowing: letting the batter rest for five to ten minutes after mixing makes a noticeable difference. During that rest time, the flour fully hydrates, the gluten relaxes, and the baking powder begins to activate. The result is a batter that cooks up more evenly and produces a more consistent texture.
Pan, heat, and timing — the real cooking variables
The pan you use matters more than most people realize. A heavy-bottomed skillet or a cast iron pan distributes heat evenly and holds temperature well, which means each pancake cooks consistently. Non-stick pans work too, though they can sometimes create a slightly different surface texture.
Heat level is everything here. Medium heat is the target — not medium-high, not low. A pan that’s too hot will brown the outside before the inside is cooked through. A pan that’s too cool will produce pale, doughy pancakes. To test your pan temperature, flick a few drops of water onto the surface. If they sizzle and evaporate within a couple of seconds, you’re ready to cook.
| Sign | What it means |
|---|---|
| Bubbles form on the surface | Time to flip — usually 2–3 minutes in |
| Edges look set and dry | Confirms the pancake is ready to turn |
| Golden-brown underside | Correct heat and timing |
| Dark brown or burnt underside | Pan is too hot or cook time too long |
Flip only once. Every time you flip a pancake back and forth, you lose some of that lift. A single confident flip is all it takes — press down slightly with the spatula after turning to ensure even contact with the pan.
Common variations worth trying
Once you’re comfortable with the base recipe, there’s a lot of room to experiment. Buttermilk pancakes are a popular variation — the acidity in buttermilk reacts with baking soda to produce extra lift and a slightly tangy flavor. If you don’t have buttermilk on hand, add a tablespoon of white vinegar or lemon juice to regular milk and let it sit for five minutes.
Whole wheat pancakes swap all-purpose flour for whole wheat flour, which adds a nuttier flavor and a denser crumb. Many people use a 50/50 blend to keep some of the lightness of the original while adding a bit more substance.
For those avoiding dairy or eggs, plant-based substitutes work well here. A ripe mashed banana or a tablespoon of flaxseed mixed with water can replace an egg, and oat milk or almond milk substitutes for regular milk without dramatically changing the final texture.
Add-ins that work well in the batter
- Fresh or frozen blueberries — add them after pouring the batter into the pan, not before, to avoid staining the whole batch
- Sliced bananas — fold in gently just before cooking
- Chocolate chips — classic addition, works in both full-size and mini pancakes
- Cinnamon and nutmeg — just a pinch of each adds warmth without overpowering the flavor
- Lemon zest — brightens the flavor profile noticeably
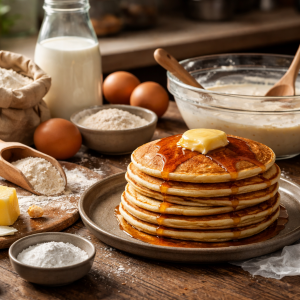
What to serve alongside and how to store leftovers
Maple syrup is the obvious pairing, but fresh fruit, Greek yogurt, nut butter, or a simple compote made from simmered berries all work just as well. If you’re going for something savory, a side of scrambled eggs or smoked salmon completely changes the experience.
Leftover pancakes store better than most people expect. Stack them with a small piece of parchment between each one, place in an airtight container, and refrigerate for up to three days. They reheat well in a toaster or a dry skillet over low heat — the microwave works but tends to make them slightly rubbery.
If you want to freeze them, let the pancakes cool completely first, then freeze in a single layer on a baking sheet before transferring to a bag. This prevents them from sticking together and makes it easy to pull out exactly as many as you need.
Small habits that separate average from consistently great
Cooking pancakes well isn’t a one-time achievement — it becomes easier every time because you start reading the batter and the pan intuitively. You’ll notice when the batter is too thick before it hits the skillet. You’ll sense when the pan needs a moment to cool down between batches. These are the kinds of details that no recipe can fully capture, but they make every batch more reliable.
Keep the first pancake as a test run. Almost every cook — beginner or experienced — uses the first one to calibrate the heat and timing. There’s no shame in that; it’s just practical.
The real goal isn’t perfection on the first attempt. It’s building enough familiarity with the process that you can adapt on the fly — adjust the heat, thin out the batter, or tweak the flip timing based on what you’re seeing in front of you. That’s where cooking gets genuinely enjoyable rather than stressful.