Most bathroom mold problems start in places you barely look — behind the showerhead, along the grout lines, or at the base of the caulk. If you’ve been wondering how to fix mold in bathroom spaces without calling a professional every time, the answer is more within reach than you might think. With the right approach, you can eliminate existing mold and prevent it from coming back for good.
Why Bathrooms Are a Perfect Environment for Mold Growth
Mold doesn’t just appear randomly. It follows moisture, warmth, and poor airflow — three things that are almost always present in a bathroom. Every shower you take raises humidity levels significantly, and if that moisture has nowhere to go, it settles into grout, caulk, drywall, and ceiling paint. Over time, even small amounts of lingering dampness create the perfect conditions for mold spores to take hold.
The most common types of bathroom mold are Cladosporium, Penicillium, and the more well-known Stachybotrys chartarum — often called black mold. While not all bathroom mold is toxic, all types can trigger respiratory irritation, worsen allergies, and compromise indoor air quality. That’s reason enough to treat it seriously, no matter how small the patch looks.
Assessing the Situation Before You Start
Before reaching for cleaning products, take a few minutes to assess how widespread the mold actually is. Surface mold on tiles or caulk is a different challenge than mold that has penetrated drywall or spread beneath flooring. Here’s a simple way to think about severity:
| Mold Location | Severity Level | DIY or Professional? |
|---|---|---|
| Tile grout and caulk | Low | DIY-friendly |
| Ceiling surface (paint layer only) | Low to moderate | DIY with caution |
| Drywall or plaster | Moderate to high | Professional recommended |
| Subfloor or wall cavity | High | Professional required |
If the affected area is smaller than about 10 square feet and limited to non-porous surfaces, you can likely handle it yourself. Anything larger or deeper deserves a professional mold remediation assessment.
What You’ll Need to Remove Bathroom Mold Safely
Gathering the right supplies before you start makes the process safer and more effective. Mold releases spores when disturbed, so protective gear isn’t optional — it’s essential.
- N95 respirator mask
- Rubber gloves (non-porous)
- Safety goggles
- Old clothes you can wash immediately afterward
- Stiff-bristled scrub brush
- Spray bottle
- Plastic sheeting to cover drains and protect surroundings
- White vinegar or a commercial mold remover
- Hydrogen peroxide (3%)
- Baking soda
Avoid using bleach as your primary solution on porous surfaces like grout. Bleach kills surface mold but doesn’t penetrate deep enough to address the root of the problem, and it can damage grout over time with repeated use.
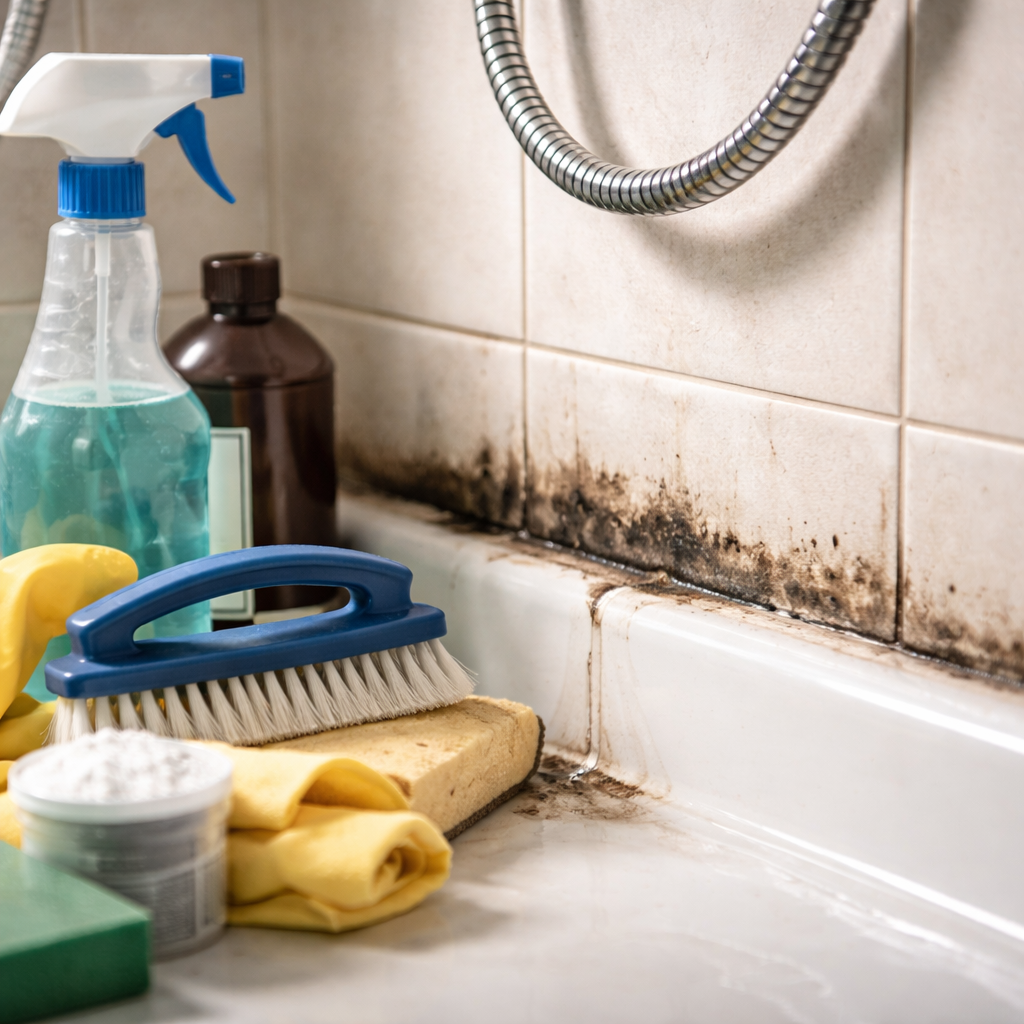
Step-by-Step: Removing Mold from Tiles, Grout, and Caulk
Start by ventilating the bathroom — open the window and turn on the exhaust fan if you have one. Put on your protective gear before touching anything. Then follow this sequence:
- Spray undiluted white vinegar directly onto the affected area and let it sit for at least 10 minutes. Vinegar is effective against most common mold species and is safe for grout.
- Scrub the area firmly with a stiff brush. Work in small circular motions along grout lines rather than scrubbing back and forth, which can spread spores.
- Rinse with warm water and dry the surface completely with a clean cloth.
- For stubborn stains, make a paste from baking soda and water, apply it to the area, leave it for 15 minutes, then scrub and rinse again.
- If mold remains, apply hydrogen peroxide (3%) and let it foam for 10 minutes before scrubbing. This is particularly effective on grout lines.
Mold-stained grout that doesn’t respond to cleaning likely needs to be re-grouted rather than just scrubbed. Once mold has penetrated the grout material itself, surface treatments won’t fully solve the problem.
For caulk that is visibly black throughout its thickness, the only real solution is removing it entirely. Use a caulk remover tool or a utility knife to peel away the old caulk, clean the joint thoroughly, allow it to dry for 24 hours, and then apply fresh mold-resistant caulk.
Tackling Mold on Bathroom Ceilings and Walls
Ceiling mold is particularly common in bathrooms without proper ventilation. If the mold is only on the painted surface and hasn’t reached the drywall beneath, you can treat it similarly to tile mold — but with extra care not to soak the surface excessively, which could damage the substrate.
After cleaning, allow the ceiling to dry fully — ideally over 48 hours with consistent airflow. Once dry, apply a mold-resistant primer followed by a bathroom-grade paint with antimicrobial properties. This creates a protective barrier against future growth.
If you press on the ceiling or wall and it feels soft, spongy, or crumbles slightly, the drywall has been compromised by moisture. At that point, the affected section needs to be cut out and replaced, not just cleaned. This is where professional help becomes genuinely worthwhile.
A Practical Tip Worth Highlighting
Keep a squeegee hanging in your shower and wipe down the walls after every use. This single habit reduces bathroom moisture by up to 75% and dramatically slows down mold development between cleanings.
Prevention: The Part Most People Skip
Cleaning up existing mold without addressing the underlying moisture issue is a temporary fix at best. Mold will return — often faster the second time, because microscopic spores remain in the environment even after visible mold is removed. Real prevention means controlling humidity at the source.
- Run the exhaust fan during and for at least 20 minutes after every shower or bath.
- If you don’t have an exhaust fan, open a window to allow steam to escape.
- Fix any leaking pipes, faucets, or toilet seals promptly — even minor drips create chronic moisture.
- Use a bathroom-specific dehumidifier if your space has consistently high humidity.
- Wash bath mats and towels regularly and avoid leaving damp items piled on the floor.
- Inspect caulk and grout every few months and reseal as soon as cracks or gaps appear.
Upgrading to mold-resistant grout and caulk during your next bathroom renovation is also a smart long-term investment. These materials contain antimicrobial agents that actively resist mold colonization, which reduces how often you need to deep-clean those surfaces.
When the Problem Is Bigger Than One Bathroom
Sometimes recurring bathroom mold is a symptom of a larger structural issue — inadequate building ventilation, moisture intrusion from outside, or plumbing hidden within walls that’s been slowly leaking for months or years. If you’ve cleaned the mold thoroughly and taken all the right prevention steps, but it keeps coming back within weeks, that’s a signal worth investigating beyond the bathroom itself.
A certified indoor air quality specialist or building inspector can identify moisture sources that aren’t visible to the naked eye, using tools like thermal imaging cameras and moisture meters. It’s not an alarmist step — it’s practical due diligence for your home and your health.
Your Bathroom Deserves Better Than a Quick Fix
Treating bathroom mold well means treating it completely — not just wiping away what you can see. The combination of proper removal technique, the right cleaning agents, and consistent prevention habits is what actually keeps a bathroom clean and healthy over the long term. Start with what you can do today, monitor the results, and don’t hesitate to bring in expert support when the problem goes deeper than the surface.