A stuck or broken zipper is behind more ruined mornings than most people care to admit — and knowing how to fix a zipper yourself can save both a favorite jacket and a trip to the tailor. The good news is that most zipper problems are more mechanical than mysterious, and once you understand what’s actually going wrong, the fix is usually simpler than expected.
Why Zippers Fail in the First Place
Before reaching for the pliers, it helps to understand the anatomy of a zipper. The slider is the small metal or plastic piece that moves up and down. It works by pressing two rows of interlocking teeth together. Over time, the slider can widen slightly — just a fraction of a millimeter — and that tiny gap is enough to stop the teeth from locking properly. Fabric caught in the mechanism, bent teeth, or a missing stop at the top are also common culprits behind a zipper that won’t cooperate.
Recognizing the specific problem before you start is what separates a quick repair from a frustrating ten minutes of pulling at something that won’t budge. Take a close look at the zipper before doing anything else.
The Most Common Zipper Problems and How to Solve Them
Different zipper failures call for different approaches. Here’s a practical breakdown of the situations you’re most likely to encounter:
- Zipper slides but doesn’t close — the slider has worn out and the gap between its two sides has widened
- Zipper is stuck in one place — fabric or a thread is caught between the teeth
- Teeth are separated below the slider — one or more teeth are bent or misaligned
- Zipper pull broke off — the tab is gone but the slider itself still works
- Zipper won’t move at all — corrosion, dirt buildup, or a dry mechanism
Each of these has a reliable fix, and most require nothing more than tools you already have at home.
Fixing a Zipper That Won’t Stay Closed
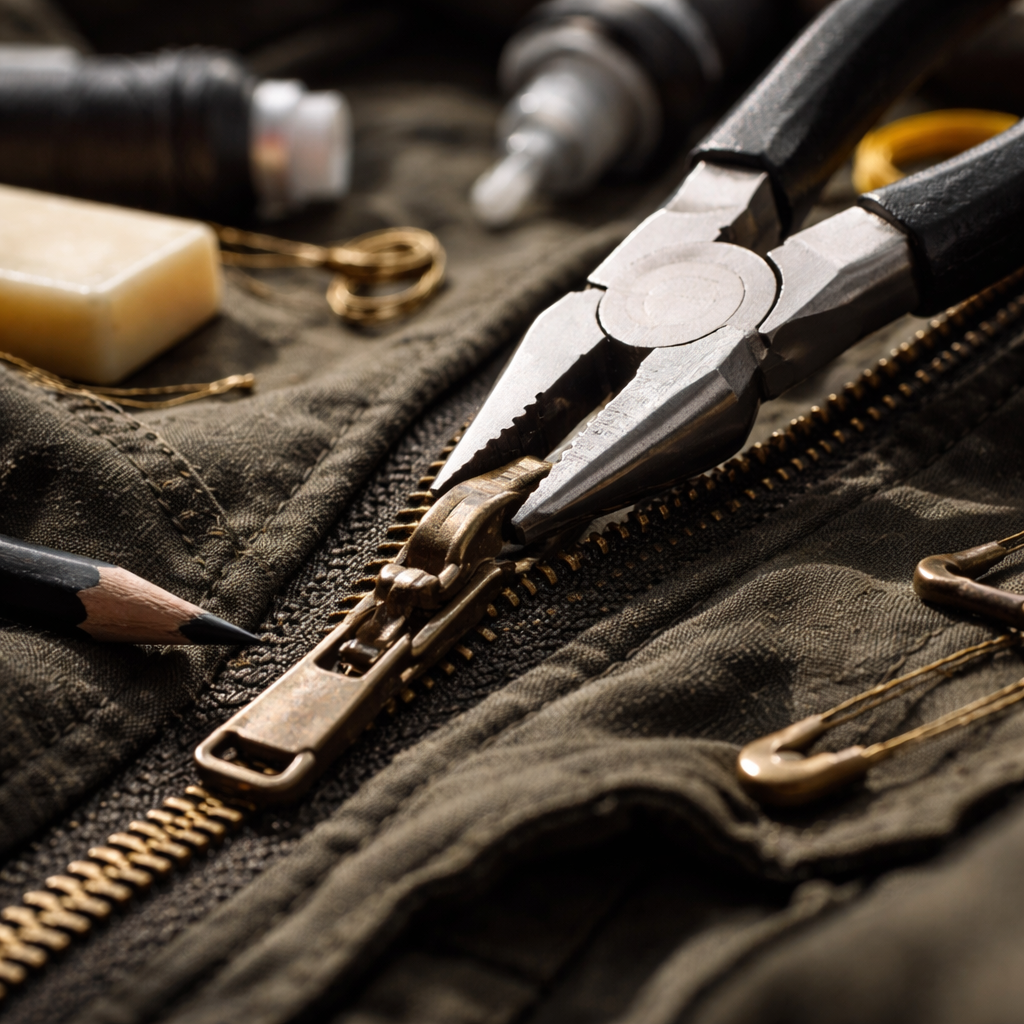
This is the most frequent complaint, and it comes down to the slider being too loose. When the slider no longer grips the teeth tightly enough, it passes over them without actually joining them. The fix involves gently squeezing the slider back into shape.
Use a pair of needle-nose pliers and apply very gentle, even pressure to both sides of the slider. Squeeze too hard and you’ll crack it — especially on plastic zippers. A little goes a long way here.
After adjusting, test the zipper by running it up and down a few times. If it now closes cleanly without the teeth separating below, you’ve solved it. If it still doesn’t hold, repeat the process with slightly more pressure, checking after each small adjustment.
Dealing with a Stuck Zipper
A zipper that refuses to move is almost always either dirty or dry — rarely is it actually broken. Before applying force, try lubrication. Several household items work surprisingly well as zipper lubricants:
| Lubricant | How to Apply | Best For |
|---|---|---|
| Graphite pencil | Rub tip directly along the teeth | Metal zippers on jeans or bags |
| Bar soap or wax | Rub along both sides of the teeth | General use, most zipper types |
| Lip balm | Apply a thin layer to the teeth | Quick fixes on the go |
| Zipper lubricant spray | Spray directly onto slider and teeth | Heavy-duty or outdoor gear zippers |
If fabric is caught rather than the mechanism itself being dry, hold the fabric taut away from the zipper with one hand while gently working the slider back with the other. Never yank — this bends the teeth and turns a small problem into a larger one.
When Teeth Are Bent or Missing
Bent teeth can often be straightened with fine-nose pliers — carefully realign them so they sit flush with the rest of the row. This takes patience and a steady hand, but it works well when only one or two teeth are affected.
Missing teeth are a different situation. If a tooth is completely gone, the zipper cannot physically close at that point. In this case, the practical solution is to create a new stopping point just above the gap using a few tight hand stitches across the zipper tape. This shortens the usable length of the zipper slightly but makes it fully functional again. For a permanent fix on a garment you use often, replacing the zipper entirely is worth considering.
Replacing a Broken Zipper Pull
Losing the zipper pull doesn’t mean the whole zipper is finished. If the slider is still on the zipper, threading a simple solution through the small hole at the top of the slider restores full function. Common substitutes include:
- A small safety pin looped through the hole
- A key ring or split ring from a hardware store
- A short loop of paracord or leather cord
- A purpose-made replacement zipper pull, available at haberdashery shops
If the slider has come off the zipper entirely, you’ll need to remove the stop at the bottom of the zipper (carefully, with pliers), slide the slider back onto both rows of teeth starting from the bottom, then re-attach or create a new bottom stop using a few hand stitches.
A Quick Tip Worth Keeping in Mind
Running a zipper up and down once after every few uses — and keeping it lightly lubricated — prevents the majority of zipper problems before they ever start. A zipper that moves smoothly doesn’t jam, doesn’t stress the teeth, and doesn’t wear out the slider ahead of its time.
Knowing When to Repair and When to Replace
Most zipper repairs take under five minutes and cost nothing. But there are situations where repair has clear limits. If the zipper tape itself is torn, if more than three or four teeth are missing in the same section, or if the slider is cracked rather than just widened, a full replacement makes more sense than a temporary workaround.
Replacement zippers are inexpensive and widely available in fabric or craft stores in a range of sizes, materials, and closure types — from standard coil zippers to heavy-duty metal ones. For a coat, bag, or pair of trousers you wear regularly, investing twenty minutes in a proper replacement extends the life of the item significantly and is a genuinely useful skill to develop.
The most important takeaway from any zipper repair is this: almost nothing about a broken zipper is irreversible until you force it. Take your time, identify the actual problem, and use the right approach — and most of the time, the fix is already in your hands.